I remember back in the day where everyone are learning php frameworks just for make a simple blog.
Of course there is nothing wrong about that, but it was expensive considering you're just ended up scaling your money when your bandwidth limit is exceeded.
And later people using GitHub Pages for their personal webpages because it's relatively easy and free.
With the help of jekyll (or octopress), everyone can make their own personal webpages by just writing some markdown and then push it to their repo, and GitHub automagically transform it into a beautiful themed pages with jekyll.
Problems
Well, Everyone love customizing their stuff and trying a new technologies.
And so was I, I want to try another static site generator (like this cute one - eleventy),
but also I still want to deploys it on my GitHub pages.
But as you know, GitHub (in the day where this article written) is just supporting jekyll.
TravisCI
Since jekyll is just a static site generator, which is transforming your stuff (templates, markdown, etc) into HTML,
we can do the same things by the help of TravisCI.
They also has a feature that allow us to automatically deploy files to many providers including GitHub Pages.
Setting up repository
First of all, we create a repository for our website, usually [username].github.io.
and then we should make a new branch for our source code, in this case, I create dev branch.
And now you can clone the dev branch and push your code to it.
$ git clone https://github.com/slavqueen/slavqueen.github.io --branch 'dev'

# make some changes

$ git add .
$ git commit -m 'First commit for the most beautiful web in the multiverse'
$ git push
$ firefox https://www.youtube.com/user/PewDiePie # subscribe to pewdiepie
"Wait, what happen with the master branch ?"
In this case, we use the master as the place where your files are generated.
And it should be served automatically by GitHub.
Configure .travis.yml
In order to make our repository deployed by Travis, we need to add some instruction for travis in a file called .travis.yml.
Okay, let's create it.
In this case, I use eleventy as example.
language: node_js
node_js:
  - "node"
install:
  # install eleventy and any dependencies inside ./package.json
  - npm install
script:
  # run generator
  - npx eleventy
  # create .nojekyll files
  # We are telling GitHub to not process this branch using jekyll
  - touch .nojekyll
deploy:
  provider: pages
  skip_cleanup: true
  keep-history: true
  github_token: $GH_TOKEN # Set in travis-ci.org dashboard later
  target_branch: master
  # folder that generated by your SSG.
  # will be pushed to the master branch by travis
  local_dir: _site
  on:
    branch: dev # branch name of the source code
As you can see, it run as nodejs project. So for more information about the languages that travis supported and the usages, you can visit https://docs.travis-ci.com/user/languages/
After that, you can push that file into dev branch to triggers the travis build.
GitHub Token for Travis
As you can see in the .travis.yml before, there is a yaml key named github_token and it has $GH_TOKEN as the value.
This token is used by travis to push the generated files into your master branch, so it should be PRIVATE.
In order to set that variables, you can use the "Environment Variables" in your travis repository settings.
Usually at https://travis-ci.com/[username]/[repo-name]/settings .

To get your GitHub token, you can visit GitHub Help for more information : https://help.github.com/articles/creating-a-personal-access-token-for-the-command-line/
And after that, you can reload the build process.

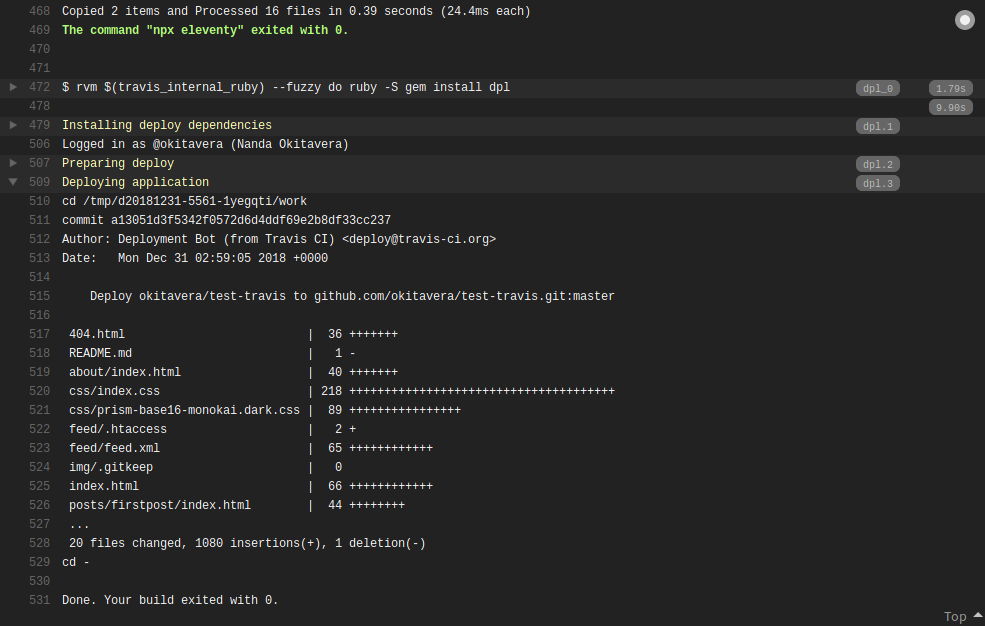
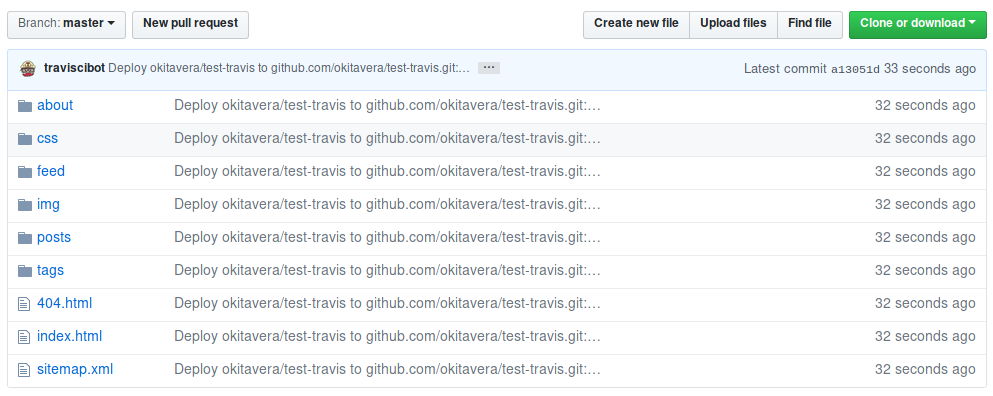
Oh, the build process is completed, lets check the master branch.

Huuray, our code are now automatically generated by TravisCI everytimes we push the code into the dev branch!
Happy coding!
JAMstackTraviswebdev

